With the chilly weather upon us, I look forward to a cozy evening on the couch, curled up with the cat, getting lost in a good book or off-beat indie movie, while shoving my face with a giant bowl of salty popcorn. I should note the cat equally enjoys said bowl of popcorn, and usually gets first dibs. While Turtle (the cat) and I share many favorite snacks, as well as hobbies -- bird watching being #1 -- we also share an equal list of dislikes. Topping our list of dislikes is watching folks oversalt their sidewalks and driveways! “Salt the snacks, not the streams!” we say. (Apologies to my cardiologist and Turtle’s vet.)
Sad pet paws, upset (read: dead) fish, rusty cars, white-stained boots and jackets -- how much salt do we really need to spread each year?! The answer is not as much as you think. And yes, we can maintain public safety while protecting our environment. Before you start tossing out piles of sand or chicken grit instead (trust me, that comes with a different suite of issues), let’s learn a few ways we can all Salt Smart this winter.
Step 1: Befriend the Shovel
The more you can shovel, the better. Utilize those warm(er) and sunny days to scrape off layers of snow from sidewalks and driveways. Love shoveling? Look for opportunities in your community to sign up and shovel for older individuals or folks with a disability. Fitness + do-gooding = big biceps and a big heart.
Step 2: Scatter thy Salt
Before dropping handfuls of salt on the ground, first consider -- do I need to salt here? In some instances, shoveling may be enough. In other locations (like when folks love to dump their sump pump drain directly onto the sidewalk…ehm…but we’ll save that for another rant, I mean blog), you may experience consistent ice build-up. For these icy situations, scatter your salt, aiming for 3 inches between salt grains. To achieve this, I find the best method is to get into a crawling position, and using tweezers, delicately place down one salt grain; then using a ruler, protractor and compass, I find the ideal location 3 inches away for the next salt grain; continue until entire area is covered.
For those who may find this method cumbersome, a salt spreader makes a suitable alternative. You can DIY a salt spreader by rinsing out a laundry detergent container, letting it dry completely, poking holes in the lid, filling with salt, and you are ready to Salt Smart this season!
And remember, more salt doesn’t mean more melting. Salt has a melting capacity, and a pile of salt in one area doesn’t mean it melts more ice. There’s a lot of science and math behind that, which you can Google at your leisure. As a general rule, one coffee cup covers a driveway or about 70 feet of sidewalk or the equivalent of two parking spaces
Step 3: Switch Deicer when Very Chilly
Salty-salt (sodium chloride, NaCl) doesn’t work below 15 degrees Fahrenheit. Bummer, I know. Some melting agents, such as magnesium chloride (MgCl2) and calcium chloride (CaCl2) work to -10 deg F and -20 deg F, respectively. They can be purchased at any hardware store. Check the outdoor temperature and the components of your deicer to make Salt Smart decisions this winter.
If traction is the name of your game, chicken grit and sand could make a good alternative at lower temperatures. Just remember, these will still get washed away to local streams through ditches or storm drains. High levels of sand in our water ecosystems fills in critical fish and bug habitat, can cause fishy suffocation, and may make the water too murky for fish to find necessary prey and food. Sad fish, sad ecosystem, sad anglers – a lose-lose-lose situation.
Step 4: Sweep & Save Left-Overs
Sweep up and reuse extra salt, sand or grit left on sidewalks and driveways. Money savings for you, less stress on our environment -- a win-win situation!
BONUS Step 5: DIY Salt Brine
Like to overachieve? A pretreatment salt brine is a great way to minimize salt use, be prepared before a storm hits, and show off to your neighbors just how on top of life you are.
DIY De-Icer Salt Brine Recipe
| You'll Need | All you have to do |
|---|---|
|
|
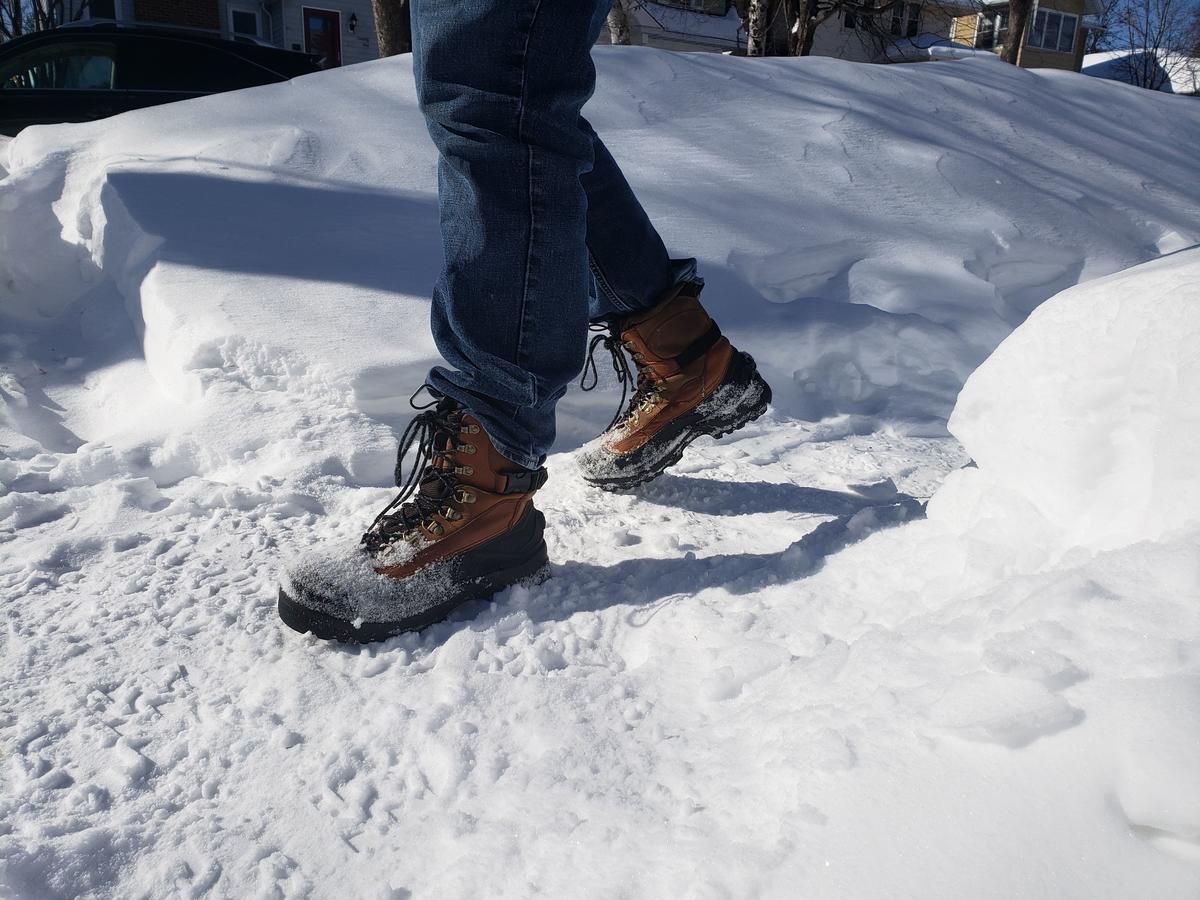
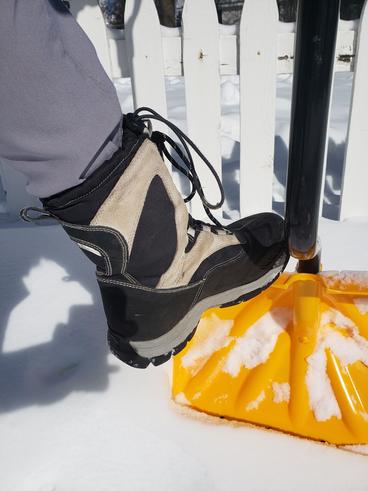
Other ways we can reduce salt use during the winter is through a little kindness, patience, and appropriate footwear. Toss the cute shoes in your bag, strap on the heavy-duty boots, and embrace the winter wonderland with grippy shoes ready for snow and ice.
If you are able, identify opportunities to work remotely during large snow storms. This removes cars from the roads, reducing pressure on road crews and freeing up space for public transportation, increasing safety and access for all.
Researchers at NRRI are working hard to identify alternatives to our salty problems, striking a balance between protecting our environment and maintaining public safety. You can play your part by continuing to educate yourself on the challenges chloride presents in our environment and telling all your family and friends how to reduce their salt use (in snazzy PSA style).
Until next month,
Tiff